The Fader 0.8.1034

AurinkosähköäLightroom CC (or 6.0) was just released and one of the biggest (only?) change is support for GPU processing. Initially, I thought that The Fader worked fine, but after some testing I noticed a side effect when GPU is enabled. The develop view did not refresh correctly, it took two adjustments to make the view refresh.

Luckily, LR6 also seems to support new API features, but these are currently not documented. I took the time to figure out some of the new API and using this new API fixed the LR6 GPU issue and additionally it is slightly faster.

Download

Download thefader_r1071.zip

NOTE: Lightroom 6.x has issues with GPU rendering enabled. If preset contains tone curves, the develop photo view does not update properly (smaller navigator windows does update). The work around is to click slider second time.

Changes in version 0.8.1071

  • Workaround for LR6 API issues with multiple settings not updating in loupe correctly
  • Workaround for LR6 API issues with different process versions
  • Using new API provided by Lightroom 6
11 Ways to Desaturate in PhotoShop

There is an old saying that PhotoShop always has three ways to do a given task. Three only? That sounds like a low estimate. I’m currently working on a programming project where I’d like to replicate some results from PhotoShop, so I started with simple task – desaturating an image – converting color photo as black & white.

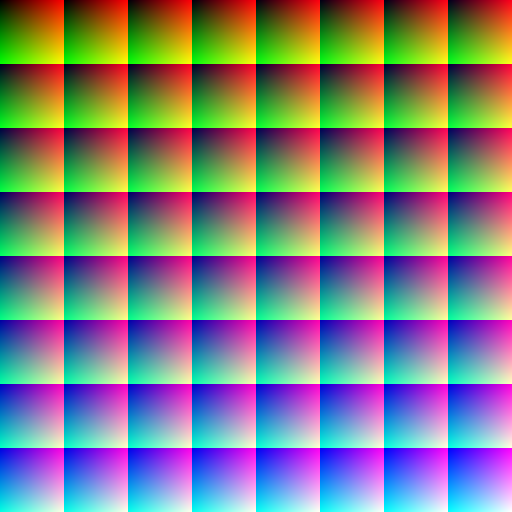
In the following examples, I’m using color test pattern from GPUImage. It contains 64^3 pixels, organized in a grid. It is originally designed for color lookup, but as it visualizes the differences quite nicely, I decided to use it here. Here’s the original pattern looks like this:

psdesat_0011_Background

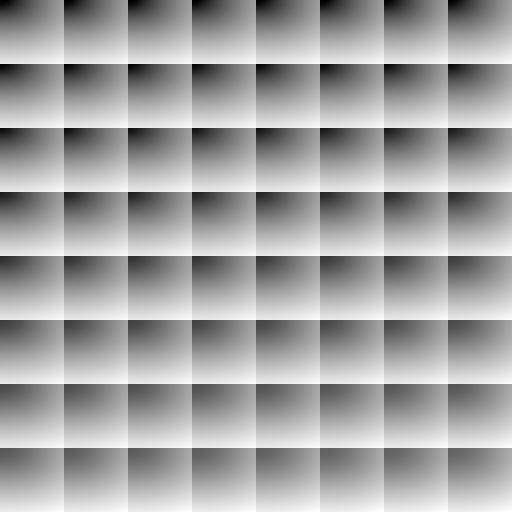
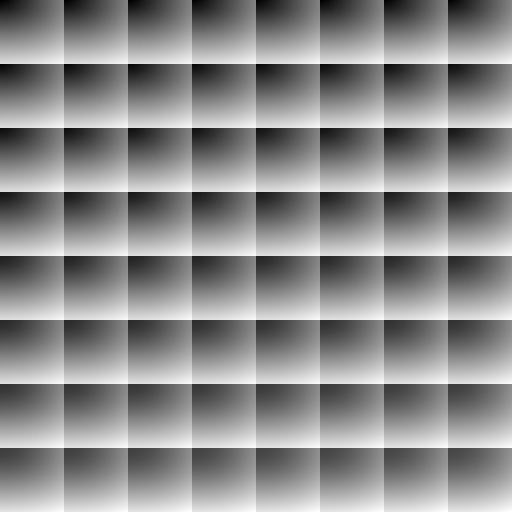
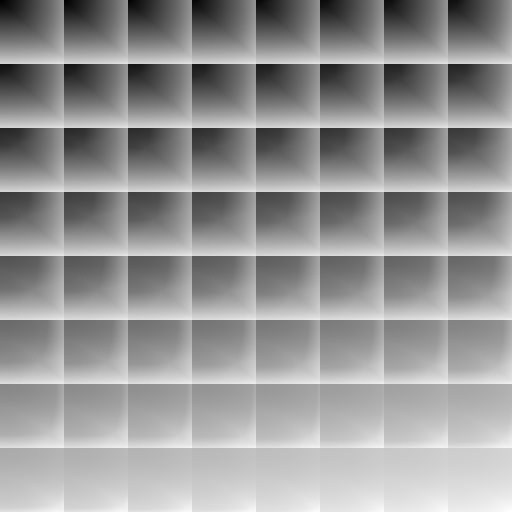
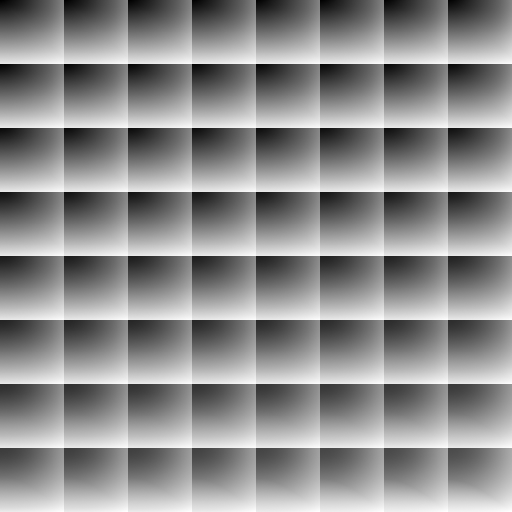
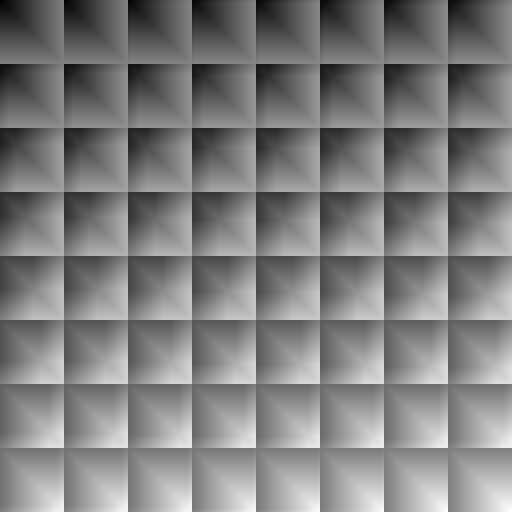
Next, the B&W conversions. Pay attention to hue changes and smoothness of the gradient.

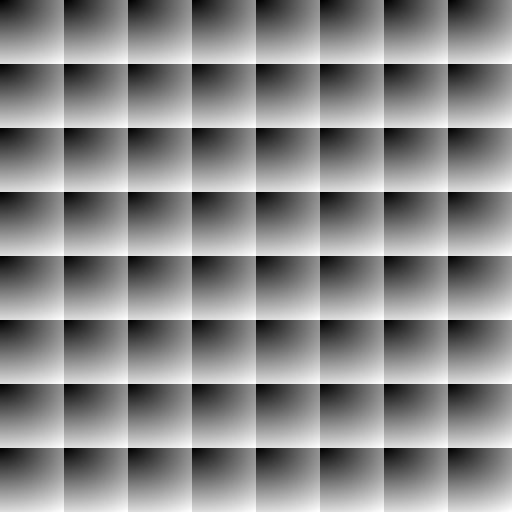
  1. First, the obvious Image -> Desaturate. Same effect can also be achieved with Hue/Saturation adjustment layer.
    Desaturate
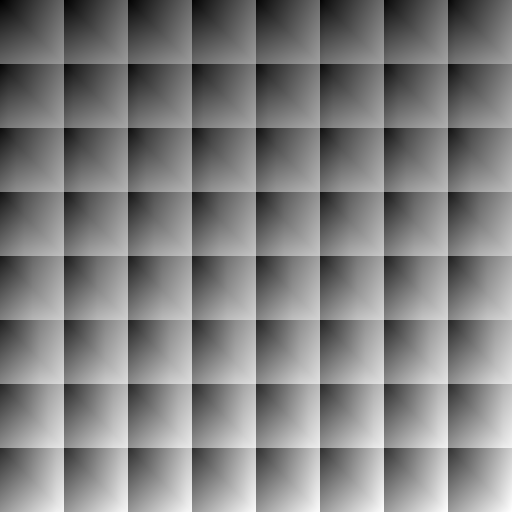
  2. Vibrance/Saturation adjustment produces different look.
    Vibrance/Saturation Adjustment
  3. Black & White adjustment with default settings.
    Black & White Adjustment
  4. Converting to HSL and taking Lightness channel only. This almost same as Desaturate, but it appears slightly lighter.

    Convert to HSL, Lightness channel

  5. Converting to LAB and taking Lightness channel only.

    Convert to LAB, Lighness channel

  6. Image -> Mode -> Grayscale. Very close to LAB, but again there is difference in contrast.

    Grayscale

  7. Camera RAW: HSL Saturation -100
    ACR HSL Saturate -100
  8. Camera RAW: Saturation -100
    ACR Saturation -100
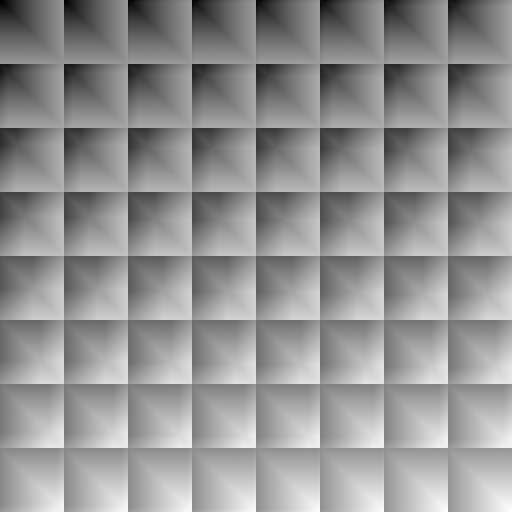
  9. Camera RAW: HSL Grayscale mode with sliders at zero. Note the crude changes in intensity when hue changes.

    ACR Gray Mixer

  10. Gradient Map
    Gradient Map
  11. Channel Mixer all values at 33%
    Channel Mixer 33%

If you know any additional ways that produce different results, please leave a comment!